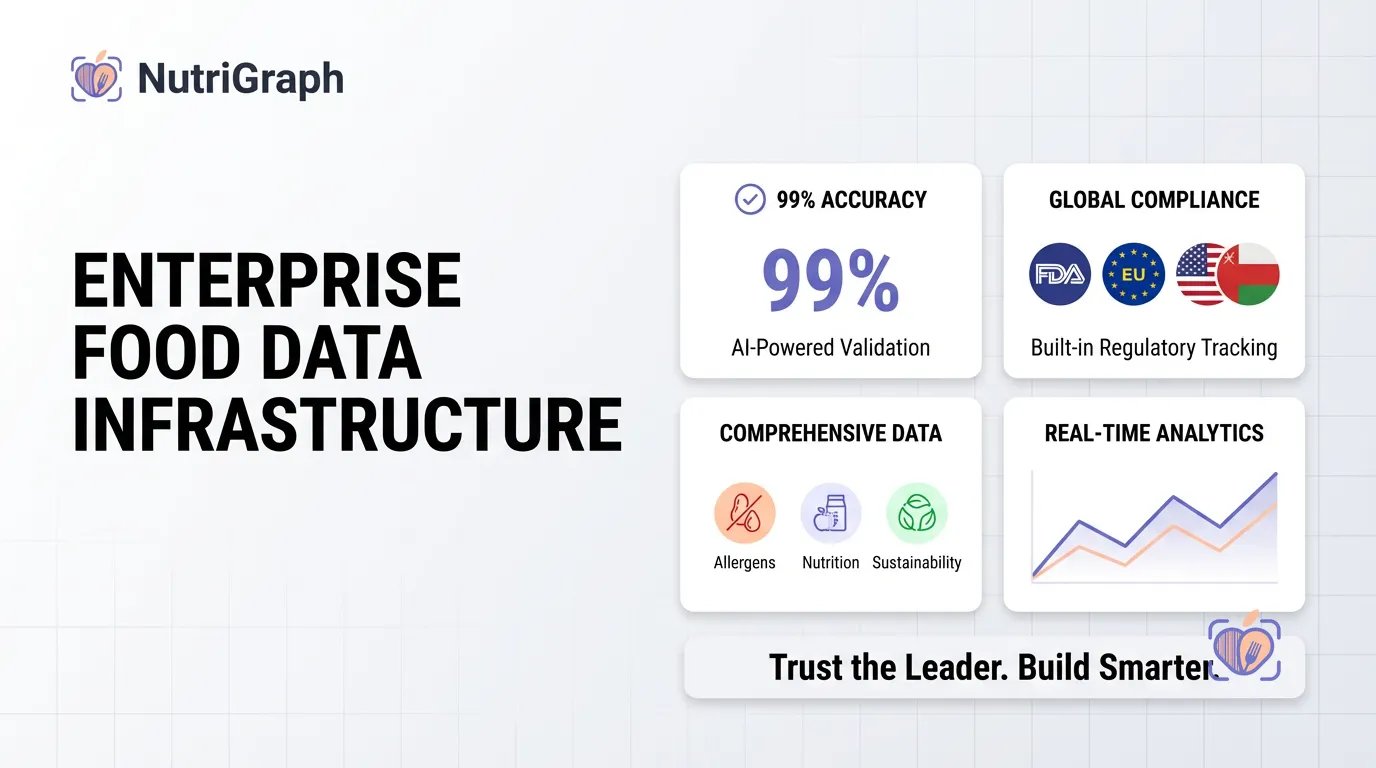
Migrating from an old food API to a modern, 39-label intelligence platform shouldn’t take weeks. We engineered NutriGraphAPI to be fully integrated into your app in less than 48 hours. This isn’t just an upgrade; it’s a fundamental shift in how you handle nutritional data. Legacy APIs give you data. We give you intelligence.
This guide is for builders. It’s a direct, no-nonsense walkthrough for CTOs and developers who value precision, speed, and elegance in their stack. We’ll move from generating your first key to parsing complex allergen data in minutes. Let’s begin.
Why we built NutriGraphAPI for developers (Speed, scale, and allergen granularity)
We didn’t just see a gap in the market; we saw a chasm. We were tired of the slow response times, ambiguous data, and frustrating developer experiences offered by platforms like Spoonacular. They were built for a different era. We built NutriGraphAPI for the applications of tomorrow, founded on three core principles:
- Speed: Your users won’t wait. Our globally distributed, serverless architecture ensures sub-100ms response times for 99% of queries. Speed isn’t a feature; it’s the foundation.
- Scale: Whether you’re making 100 calls a day or 10 million, our infrastructure scales with you seamlessly. We handle the complexity so you can focus on building your product, not managing API capacity.
- Allergen Granularity: The market has moved beyond a simple
contains_nutsboolean. Consumers demand nuance. Our proprietary analysis engine provides 39 distinct data labels, fromcontains_glutenandis_veganto specific cross-contamination warnings and certifications likekosherandnon_gmo. This is the data that builds trust with your users.
Step 1: Generating your free Sandbox API Key
Every great integration starts with authentication. We’ve made it frictionless. Our sandbox environment gives you full access to our API structure with a limited dataset of common products. No credit card, no lengthy approval process.
- Navigate to
nutrigraphapi.com/sandbox. - Enter your email address.
- Your API key will be instantly generated and displayed. Store this key securely; you’ll need it for every request.
Your sandbox key is perfect for development and testing. When you’re ready to go live, you’ll use a production key.
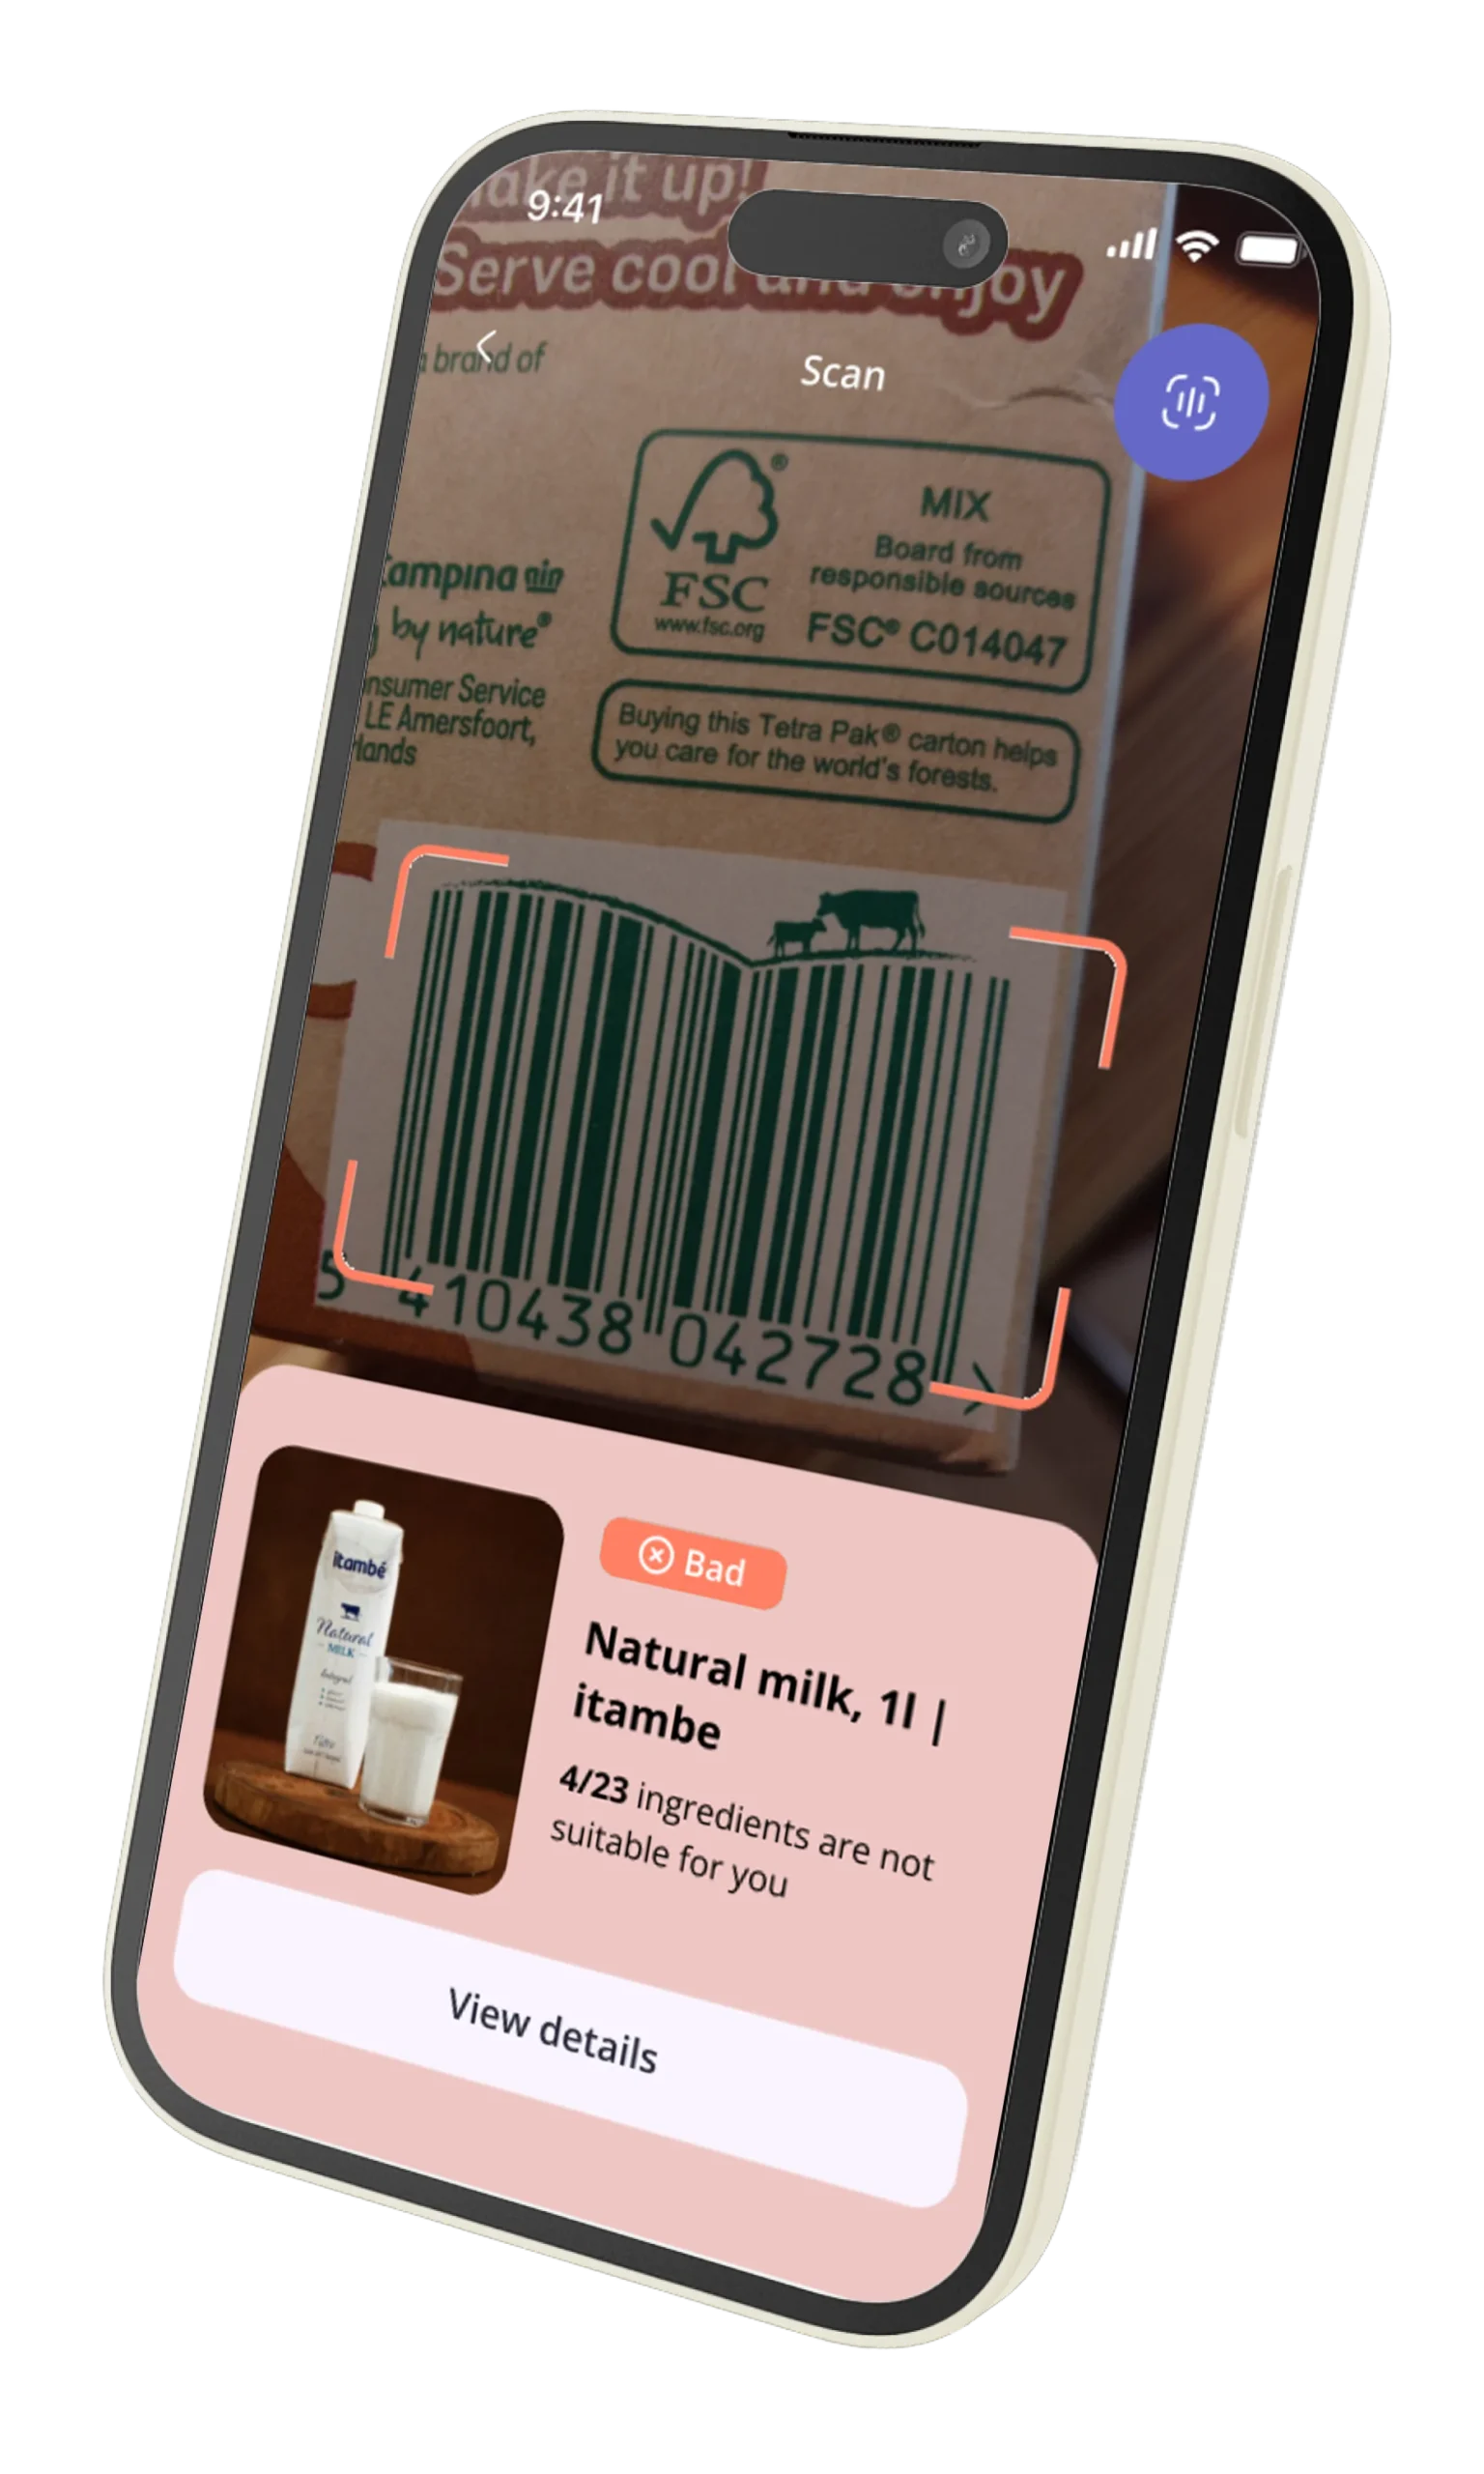
Step 2: Making your first Barcode Lookup Request
Let’s get data. The core of NutriGraphAPI is the /v2/lookup endpoint. It accepts a standard UPC or EAN barcode and returns a rich JSON object.
Here’s how to query for a product using its UPC (049000050103).
cURL Example
For a quick test from your terminal:
curl -X GET 'https://api.nutrigraphapi.com/v2/lookup?upc=049000050103' \
-H 'x-api-key: YOUR_API_KEY_HERE'
Python Example
For integration into your application backend:
import requests
import json

API_KEY = 'YOUR_API_KEY_HERE'
BASE_URL = 'https://api.nutrigraphapi.com/v2/lookup'
UPC_CODE = '049000050103'

headers = {
    'x-api-key': API_KEY
}

params = {
    'upc': UPC_CODE
}

response = requests.get(BASE_URL, headers=headers, params=params)

if response.status_code == 200:
    product_data = response.json()
    print(json.dumps(product_data, indent=2))
else:
    print(f"Error: {response.status_code}")
    print(response.text)
Execute this, and you’ll receive a detailed JSON payload. That’s your first taste of the platform’s power.
Step 3: Parsing the analysed_data JSON response block
This is where NutriGraphAPI separates itself. The data you receive isn’t a flat, messy structure. It’s a clean, deeply nested object designed for easy parsing. The most valuable information lives inside the analysed_data block.
Sample JSON Response
Here is a truncated example of what the API returns:
{
  "status": "success",
  "upc": "049000050103",
  "product_name": "A&W Root Beer",
  "brand": "A&W",
  "analysed_data": {
    "nutrition_facts": {
      "calories": 170,
      "fat": {
        "total_g": 0,
        "saturated_g": 0
      },
      "sugars": {
        "total_g": 47,
        "added_g": 47
      }
    },
    "allergen_profile": {
      "contains_gluten": false,
      "contains_dairy": false,
      "contains_nuts": false,
      "cross_contamination_risk": []
    },
    "dietary_labels": {
      "is_vegan": true,
      "is_vegetarian": true,
      "is_kosher": true,
      "is_halal": false
    }
  }
}
Extracting the 39 Labels
With this structure, accessing the specific data points your application needs is trivial. Let’s build on our previous Python script to extract key information.
# Assuming 'product_data' is the JSON object from the previous step

analysed_data = product_data.get('analysed_data', {})

# Extracting nutritional information
nutrition = analysed_data.get('nutrition_facts', {})
calories = nutrition.get('calories')
total_sugars = nutrition.get('sugars', {}).get('total_g')

# Extracting allergen information
allergens = analysed_data.get('allergen_profile', {})
is_gluten_free = not allergens.get('contains_gluten', True)

# Extracting dietary labels
dietary = analysed_data.get('dietary_labels', {})
is_vegan = dietary.get('is_vegan')

print(f"Product: {product_data.get('product_name')}")
print(f"Calories: {calories}")
print(f"Total Sugars: {total_sugars}g")
print(f"Is Gluten-Free: {is_gluten_free}")
print(f"Is Vegan: {is_vegan}")
This clean, predictable access to 39 distinct labels is what allows you to build sophisticated features—like advanced dietary filters or allergen warnings—that your competitors simply can’t match.
Step 4: Handling Webhooks and Rate Limits in Production
Moving from the sandbox to production means thinking about scale and resilience. We provide the tools to do this gracefully.
Rate Limits: Your production key comes with a generous rate limit. We communicate your current status via HTTP headers in every response:
X-RateLimit-Limit: The total number of requests allowed in the current window.X-RateLimit-Remaining: The number of requests you have left.X-RateLimit-Reset: The UTC timestamp when the limit resets.
Monitor these headers. If you approach the limit, implement a gentle exponential backoff strategy in your client to avoid 429 Too Many Requests errors.
Webhooks: For high-volume or non-time-sensitive tasks, like analyzing a newly submitted product catalog, direct API calls can be inefficient. For these use cases, we support webhooks. You can submit a batch of UPCs to our /v2/batch-process endpoint, provide a callback URL, and our system will process them asynchronously, sending you a POST request with the results for each item as it’s completed. This is the professional way to handle large-scale data ingestion.
Best practices for caching NutriGraph data on your local server
Don’t pay for the same answer twice. The nutritional data for a given barcode is relatively static. Caching responses is not just allowed; it’s encouraged. It reduces latency for your users and lowers your API call volume.
We recommend a simple key-value store like Redis or Memcached.
- Cache Key: Use the UPC or EAN barcode as the cache key (e.g.,
ng_cache:049000050103). - Cache Value: Store the entire JSON response object as a string.
- Set a TTL (Time-To-Live): A 24-hour to 7-day TTL is a sensible starting point. Product formulations can change, so you don’t want to cache data indefinitely.
Pseudocode for a Cached Request
function getProductData(upc) {
  cached_data = redis.get(f"ng_cache:{upc}");

  if (cached_data) {
    return JSON.parse(cached_data);
  } else {
    api_response = nutrigraph_api.lookup(upc);
    redis.set(f"ng_cache:{upc}", JSON.stringify(api_response), ttl=86400); // 24-hour TTL
    return api_response;
  }
}
This simple logic drastically improves your application’s performance and efficiency.
In less than an hour, you’ve gone from a blank slate to a functioning integration pulling rich, structured nutritional data. You’ve seen the speed, the granularity, and the thoughtful design that sets NutriGraphAPI apart. The next 47 hours are for scaling.
Ready to build?
Pull a 1,000-call developer key at nutrigraphapi.com/pricing.